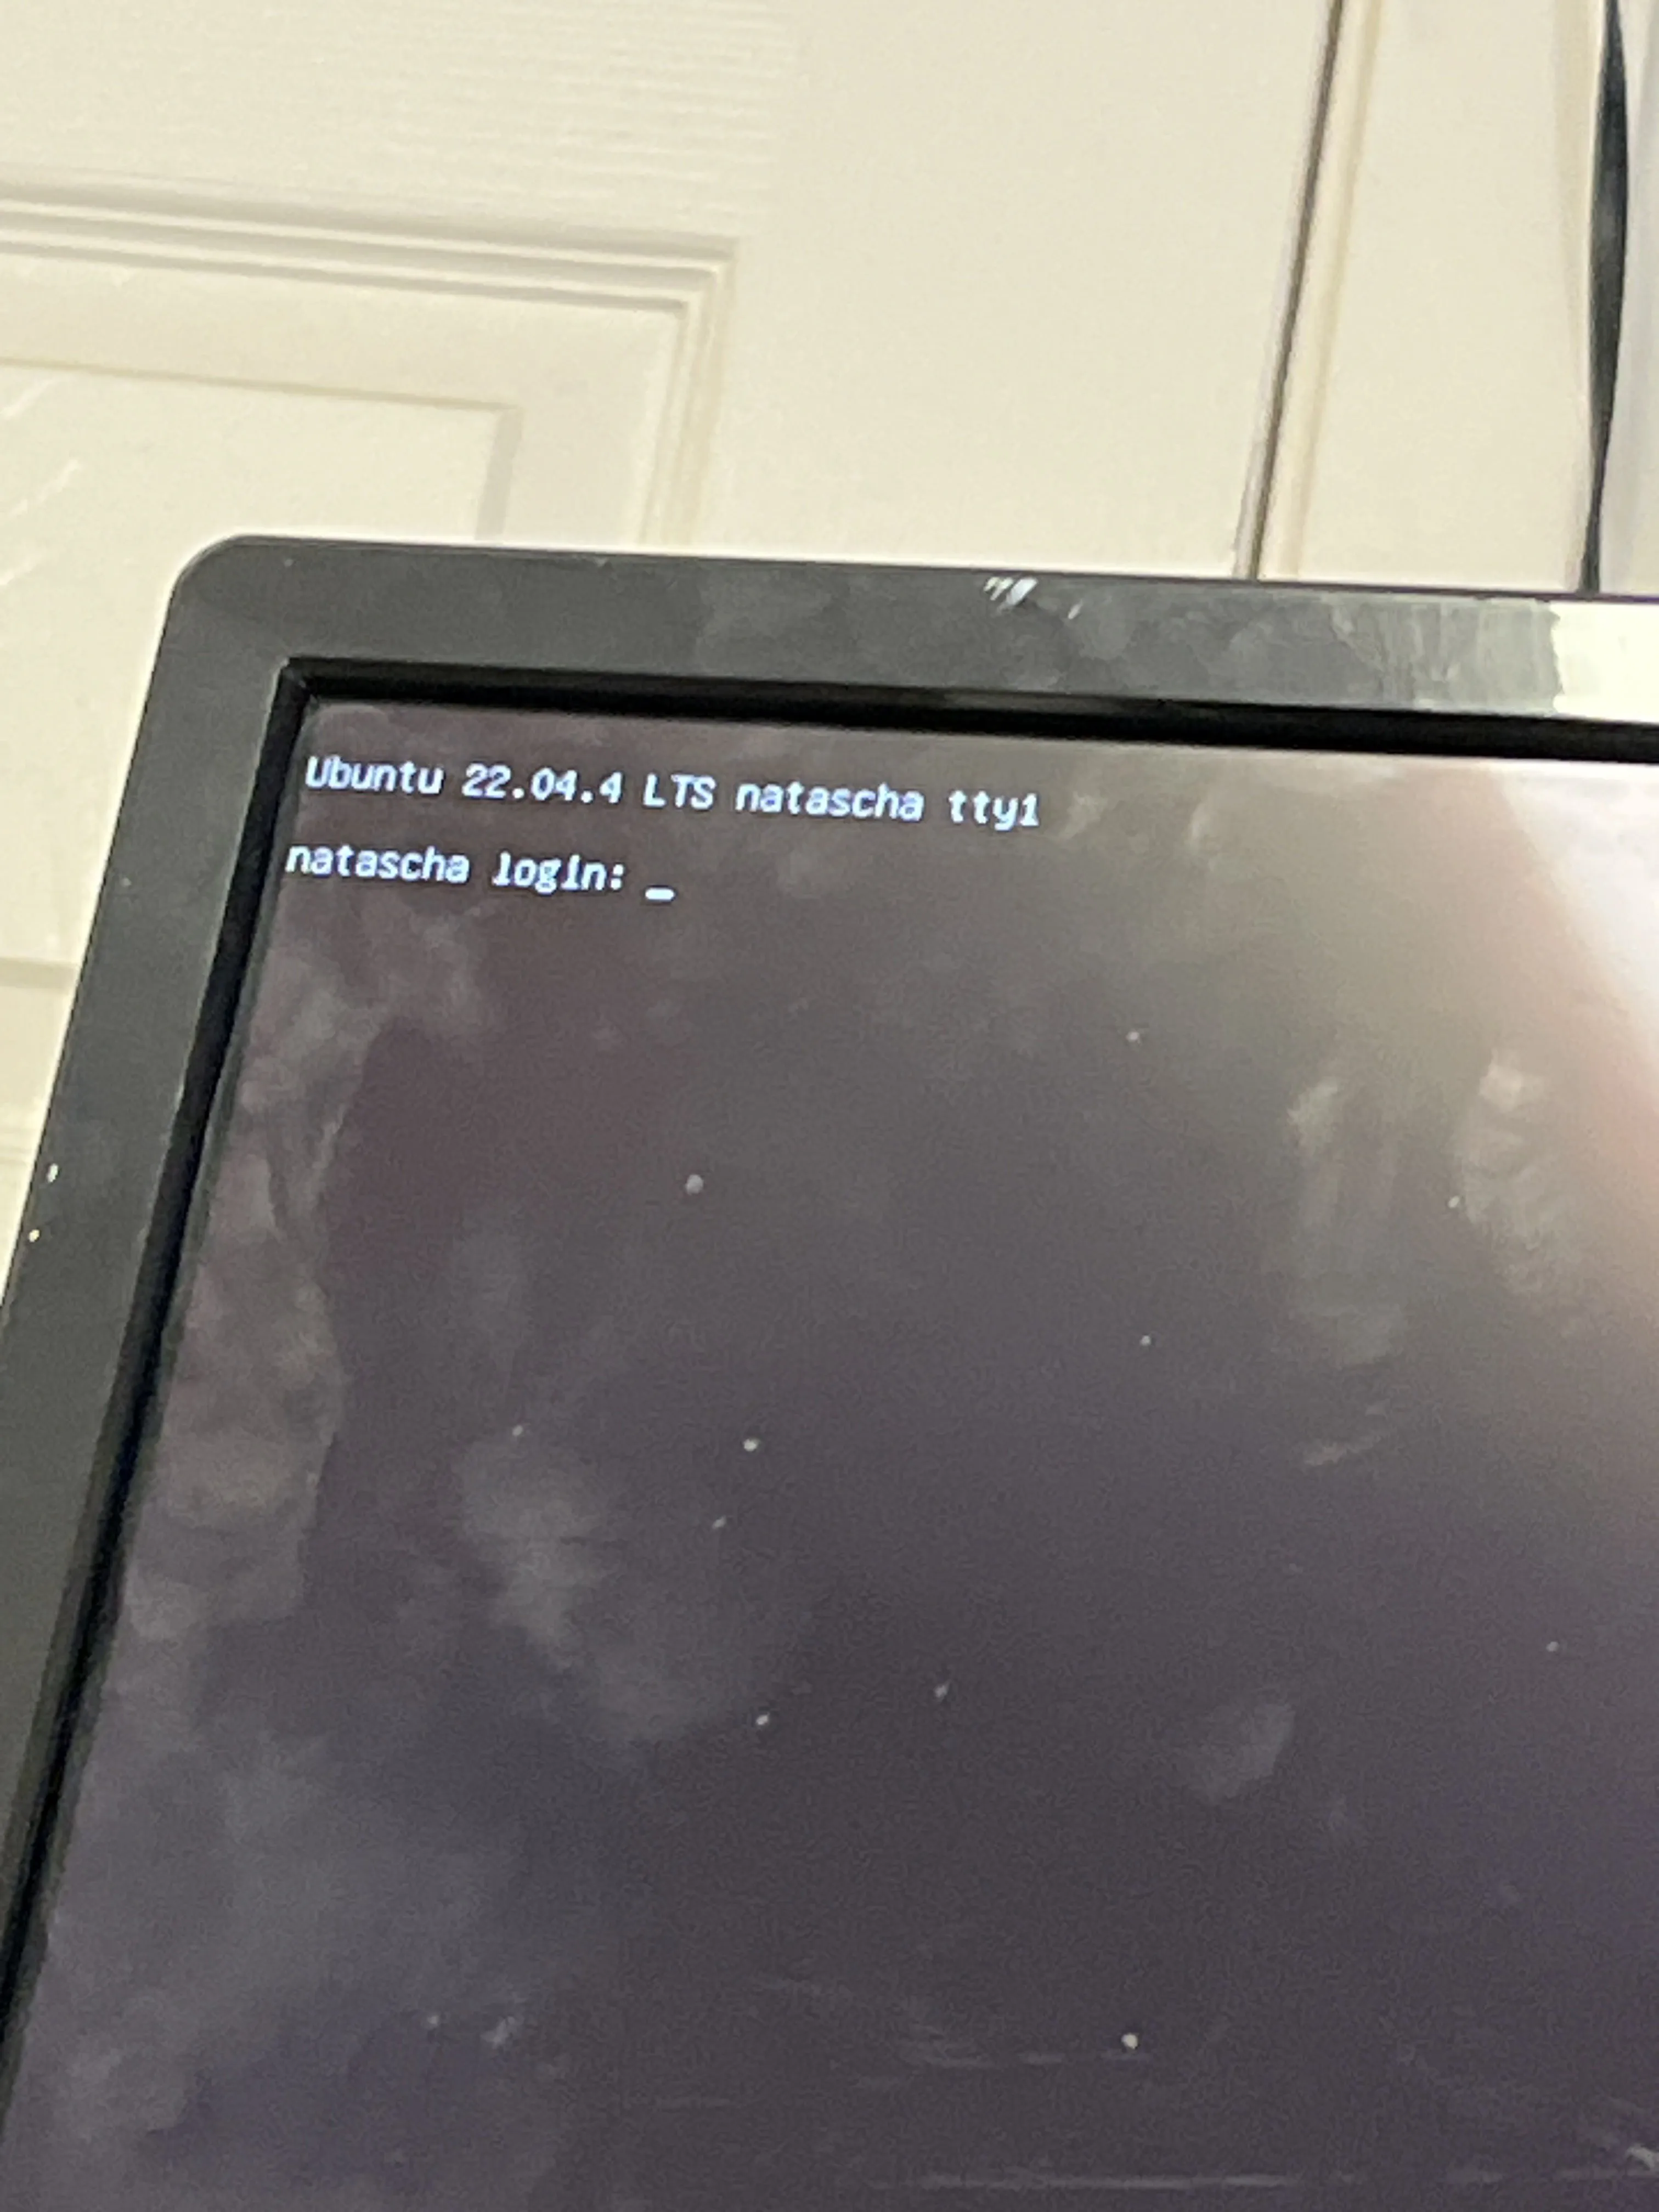
| login-prompt.webp | ||
| README.md | ||
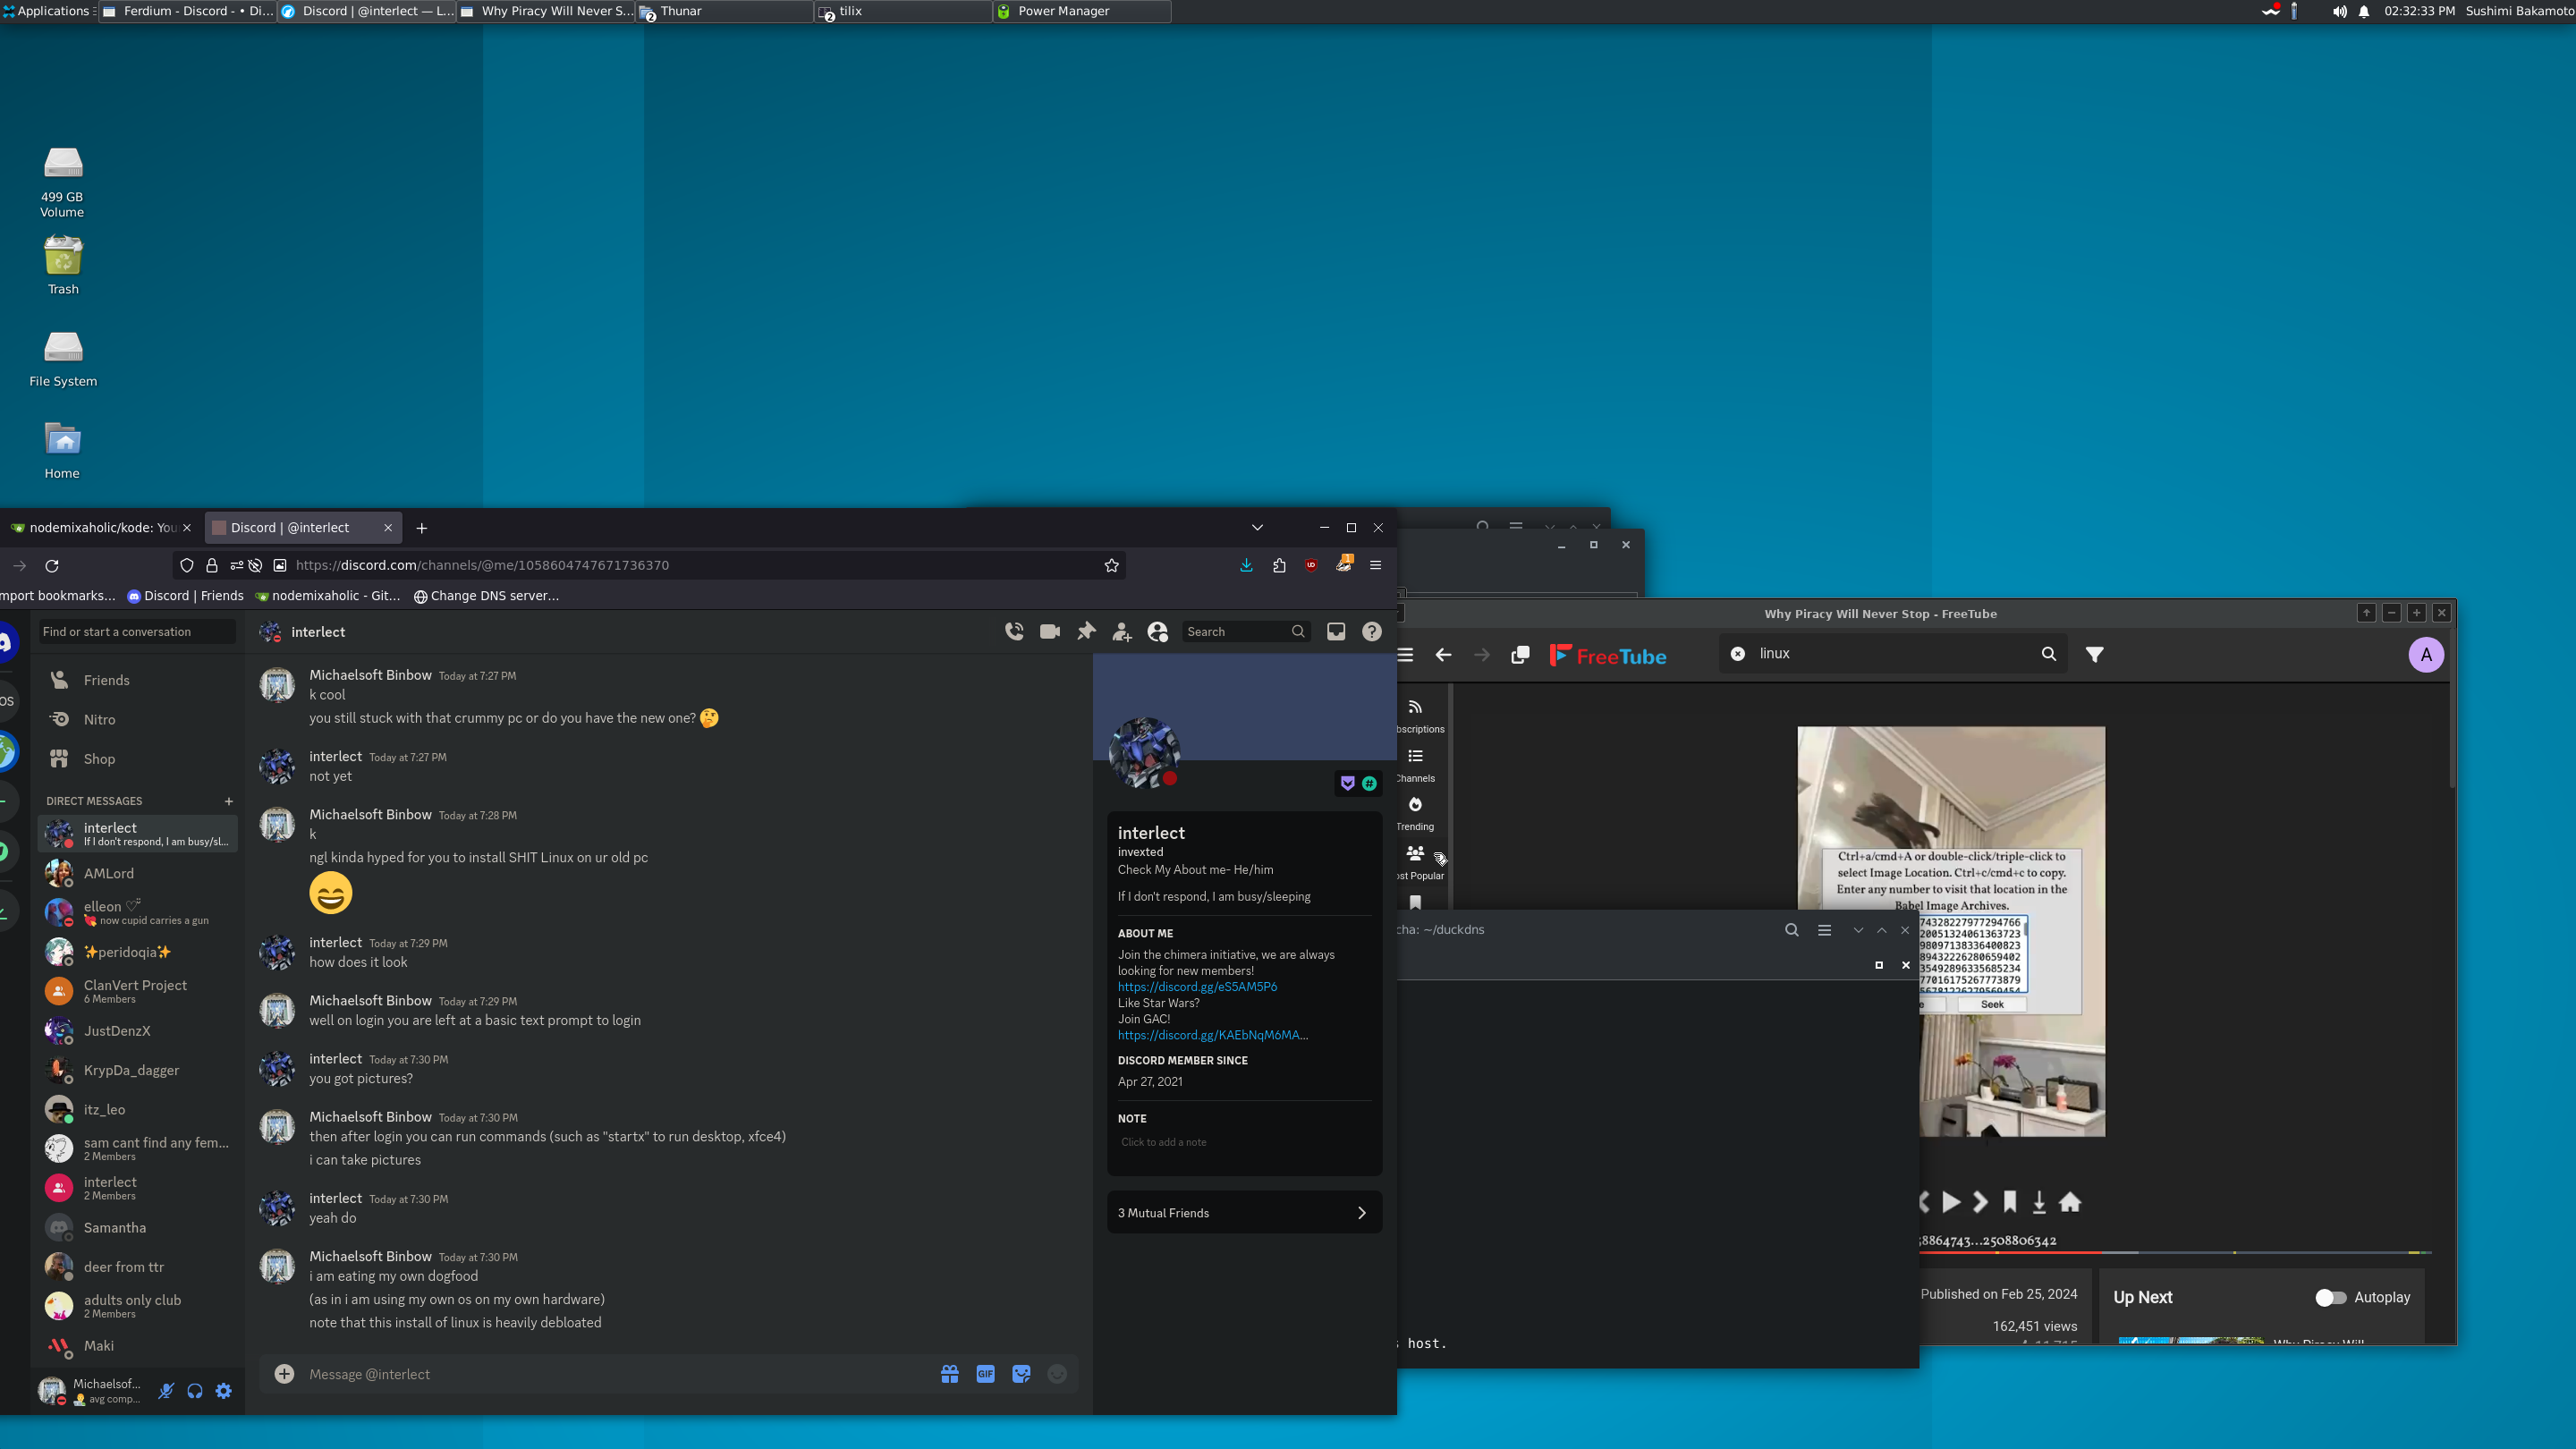
| slightly-customized-desktop.webp | ||
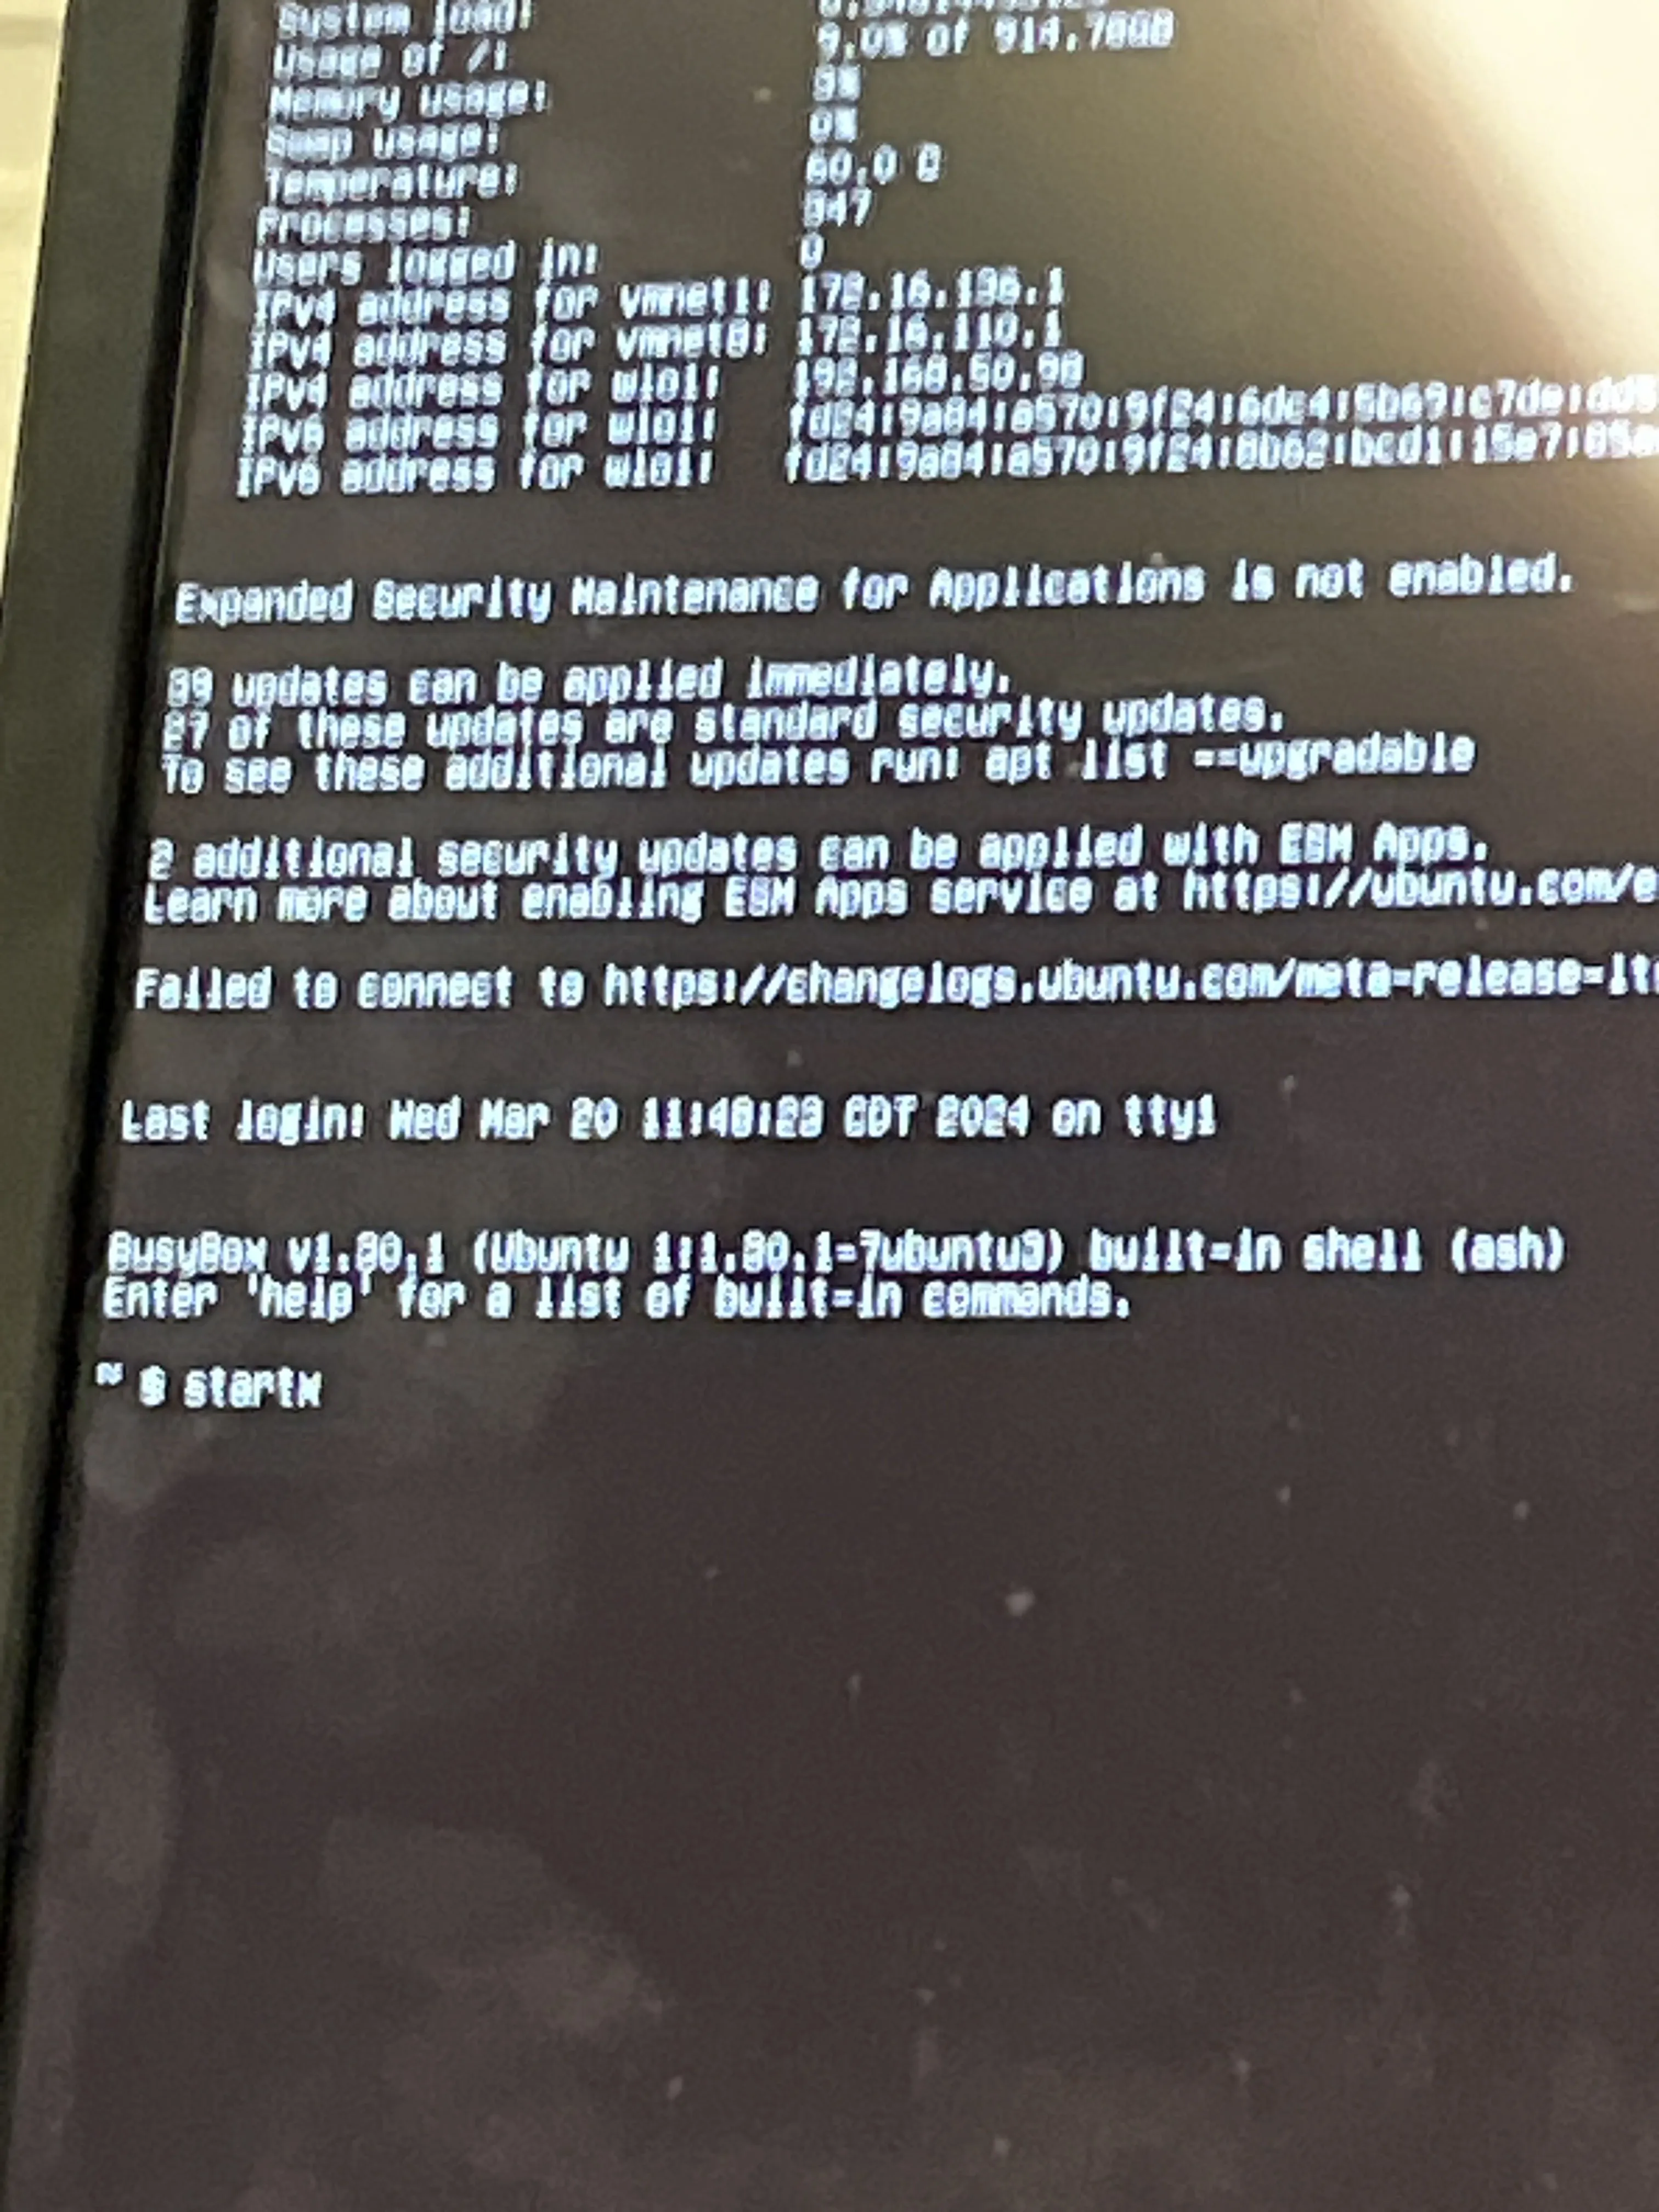
| starting-x.webp | ||
SHIT Linux
Sam's Heckin Intermitent Tiny Linux
What is?
It is a distro that removes the bloat from Ubuntu, replaces curl and wget with my swirl project, comes with xfce4, does come with a browser, comes with an "add-flathub.sh" script, a "scrcpy.AppImage" binary, an "install-roblox-studio.sh" script, and replaces some of the bloated GNU coreutils with BusyBox utils. Also comes with flatpak.
Download link pls?
IMPORTANT NOTES
- It is recommended for typical desktop use that you uncheck the LVM-related partition options in the initial install.
- You WILL need a SD Card with SD card reader OR USB Drive
- Do NOT buy SD Cards or USB Drives online.
- This only comes with the bare necessities. You'll need to provide any extra packages, such as power-management apps, via apt and/or flatpak.
- Note that there is now a seperate install script (install-desktop.sh) for installing an XFCE4 desktop.
- Also note that, no matter which desktop environment you choose, there is a librewolf.AppImage as well as some scripts needed to play and develop in ROBLOX (although you need a spare Android phone to use the player.)
- There IS an "Additional Drivers" app to install NVIDIA drivers.
- Most WiFi drivers that are compatible with Ubuntu Jammy Jellyfish should work by default after install.
- CURL is incompatible with most applications due to it being a shortcut to the better swirl project.
- Swirl's source can be found here: http://nodemixaholic.com:3002/nodemixaholic/swirl
How to install on a PC?
(Thanks ChatGPT for making Mr. Lord's poor instructions more clear and interesting to read!)
Alright, buckle up! First things first, grab yourself a spare USB Drive that you’re cool with reformatting – trust me, it’s for a good cause. Next up, snag a copy of Ventoy (Download here if your current OS is Windows or download here if you are on GNU/Linux.) and fire up Ventoy2Disk. Now, pay attention here: make sure you disable that pesky secure boot support in Ventoy2Disk. Then, it’s time to work some magic – install Ventoy onto your USB and toss that ISO onto the VENTOY partition like a pro.
Once that’s all done, it’s time to shake things up. Reboot into your BIOS – yeah, we’re diving deep now. Kick secure boot to the curb (I mean, who needs those Microsoft certs anyway, right?) and boot up from your USB. Choose that ISO you’ve been itching to install, but hold up – don’t forget to give LVM the ol’ goodbye.
And just like that, you’re off to the races! Trust me, it’s way easier than it sounds. Time to sit back, relax, and watch your system transform before your very eyes. You got this!
How do I install on a Mac with T2 chip?
NOTE: T2 compatibility is still in it's early stages, and if it does work, you'll need to enable Wi-Fi via terminal to use internet, such as to enable XFCE4 Desktop!
- Go to recovery mode (Command+R on boot)
- Disable signed/secure boot and enable booting from all sources
- Install onto your mac as per usual (you'll need a usb keyboard in installer!)
- Enable Wi-Fi using these instructions
- Enjoy your SHITty experience! ;)
( NOTE: We have since discovered that the T2 kernel is enabled by default on install! :D )
Screenshots?
Sure! Here are some screenshots!

- Description: User login prompt example

- Description: A user starting X.Org after running "install-desktop.sh"

- Description: A slightly customized desktop using default-choice of desktop environment
Maintainers
- Sam Sneed - Website Maintainer: Responsible for maintaining and updating the website.
- Sparksammy - Ex-Distro-Dev/Current Download Maintainer: Previously a Distro Developer, now overseeing current download maintenance.
- Maxwell Drake - Current Distro Developer: Actively involved in the development and maintenance of the distribution.